Friday, June 17, 2011

More Place mats

Place mats are fun. They're small, so a good project for quick gratification and also a good way to experiment and try new patterns, or color combinations cause, hey, it's a small project! If I mess up, or not like the way it turns out, I feel I hadn't invested that much time and material in it.
With all that said, yes, I have been experimenting with place mats.
This set was designed by AJ (who says he can't design and always gives me great ideas), and which I wanted to try as I'd never done this kind of thing before: Pieces appliqued onto other appliqued pieces.
Here they are:
One on its own:
And the whole batch:


The quilting is of concentric outlines of the overlapping circles. I figured with no piecing really, I could get away with less quilting. And it shows up as a neat design on the back.
The backing is of cherries, because I always associate cherries with kitchen stuff and because I had a length of it in my stash:


Hmm...can't really see the cherries. Here they are: 


I enjoyed the applique (and learned that it eats up a LOT of thread!), and working with colors I would not usually pick.
But hey, it's a small project!

Monday, May 30, 2011

Stripes!

I do love me some stripes. I have stripey socks, stripey tights, I even have stripes in my hair. So naturally stripey quilts are some of my favorite. Stripes are easy, because it's all straight stitching; they are versatile because you can use different colors, widths, etc, and organize them in many different ways. You can, for example, sew a few strips together, then cut them up and resew them into a different configuration. I've posted various stripey quilts here before, but this post is about something new, the Roman Stripes pattern.
This pattern puts together two triangles, one made of a single fabric and the other made of stripes.
Sewing stripes is fun, but can get wonky if you are not super meticulous, which I am not. So to avoid wonkiness here, I "built" the stripey triangles. This means I cut a triangle of fabric and then sewed the stripes onto it, building the stripey triangle onto the fabric. Then I sewed the stripey triangle and just solid fabric triangle together.
Like so:
I made a bunch of these squares and then set about figuring out how to lay them out. Part of the beauty of this pattern is that you can do so many things with the layout. I decided to go with concentric squares, a very traditional layout, but put them off-center, which makes it less traditional.  Here it is:
  
The wide purple border is the same as one of the stripes, lending cohesion to the piece. Some people think the design of this fabric is spiderwebs and some think it's china. I think it's pretty.
For the reverse I chose a different color scheme, so the quilt could be double sided and work for different moods. The back is this:

The whole thing is bound by dark blue binding.
This is a lap quilt and is a birthday present to a friend.
The stripes were much fun to work with, and there were so many layout possibilities I know I will have to make some more Roman Stripes.
Also, I want to research the name of the pattern...

Tuesday, May 17, 2011

Place mats

I love learning new things I can make with fabric! I do. I love it. Fabric is so versatile. It is versatile in color, pattern, function. It can be put together in so many different ways. And part of the joy of working with fabric, for me, is learning new ways of putting it together, and new functions for which it may be used.
Last weekend I learned a new technique at the monthly quilty club I attend. Some of the techniques featured there are not super interesting to me, and some of the supplies, gadgets, and tools featured likewise fail to grab my attention. But every once in a while, something will really click and I get excited.
This is one of those times.
We used strips (from the oh-so-ubiquitous "jelly roll" variety), to make place mats. Place mats. I have never considered quilting a place mat. Ever. Maybe this is because I don't use them? Or because I'm focused on blankets? Who knows. Whatever the reason, this particular function for fabric has not crossed my mind. Until now.
In the class we took the strips and sewed them directly onto batting. The sewing style was "raw edge", otherwise known as rag piecing. This is where the raw edge of the fabric is left revealed and it unravels over time to create a "rag" effect at the seams. Also, we played with decorative stitching over the edges. And while I like both of these, and will use them, the first place mat I made at home (that very weekend) was different. I cut different shades of blue and purple into strips and sewed them onto batting, with the stitching hidden.
When I finished the piece looked too...angular, so i decided to add appliques of non-uniformly cut fabric butterflies.
Here's the result:
I made four of these, each with slightly different appliques in slightly different locations:
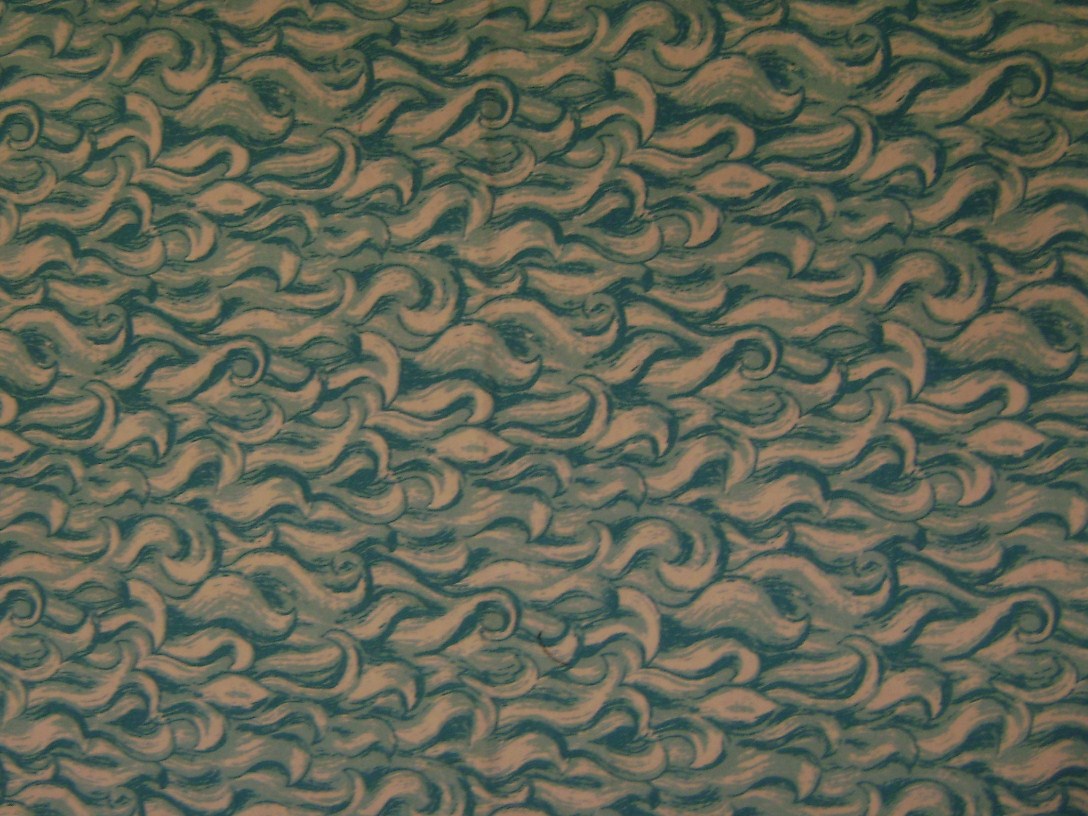
The backing is a wavy blue fabric,which is folded around the front to create the binding:
This was a fun project! The place mats are small enough so that it was a "quick gratification" project, but the challenge of a new technique was a huge part of the fun for me.
I have, roughly, a bajillion other place mats, planned now. It is such a good way to use up the fabric on my shelves.
The only thing to decide now is what to do with this set: use it, give it away, put it on Etsy? Hmm...I think I'll ponder this while making another set!

Sunday, May 8, 2011

Warm Wishes for Charlotte

Different patterns offer different pleasures. With some, it's about dinky little pieces coming together; others are about "you made THIs out of THAT!"; still others are about color combinations, or the recipient, or trying a new technique, or gratification.
And some offer joys of versatility. In a previous post I mentioned the attic windows pattern which works well with many different fabrics and which comes out quite different each time (http://quiltjourneysofmidnightglory.blogspot.com/2011/02/windows.html). I've also posted about the three different pieces I made out of the monster fabric I fell in love with (http://quiltjourneysofmidnightglory.blogspot.com/2011/02/monsters-take-3.html). And now I am on a "Warm Wishes" kick.
This pattern is simple, with squares and strips and all straight lines. The beauty of it lies in the color combination and the layout. The first one I did with this pattern was this, to warm a friend's new house: 
Then I decided to use this pattern again, to make a baby quilt for two friends who live far away. I decided to use a totally different color combination, and to avoid traditional "baby" prints (mostly because I don't have much of those in my fabric stash and I'm still attempting to not buy new fabric). I chose blue, green, purple, and monsters.
And here's the result:
And a close up? Sure!


And the reverse? Here it is:

I was gifted this awesome fabric by my sister in law a few years ago and it's been waiting for just the right project. Charlotte's parents like animals and so this was the perfect backing fabric.
The quilt is going in the post tomorrow (I hope) and Charlotte should have it by the end of the week, with the rest of our warm wishes.

Wednesday, April 27, 2011

Violet the Spy

Wow, has it really been that long since I posted here? Yes, I guess it has. Life's been kind of crazy...
But I have been sewing (helps keep down the crazy, for me), and last week I finished another project. Actually, I decided NOT to post about it, as the recipient's mom reads this, and I didn't want her to find out until I presented the quilt to her daughter.

Our friend Violet turned one this week.  At one kids don't lie on the quilt so much as carry it around, wrap themselves in it, use it on dolls/stuffed animals/mamma, etc. So I make toddler quilts a bit bigger than I do baby quilts. This way the kid can do more with them, and, hopefully, keep using the quilt as they get older (for forts and such). Another thing that is different is that toddler can discern pattern and color more easily and so the quilt can be with more complex fabric designs, in my opinion.

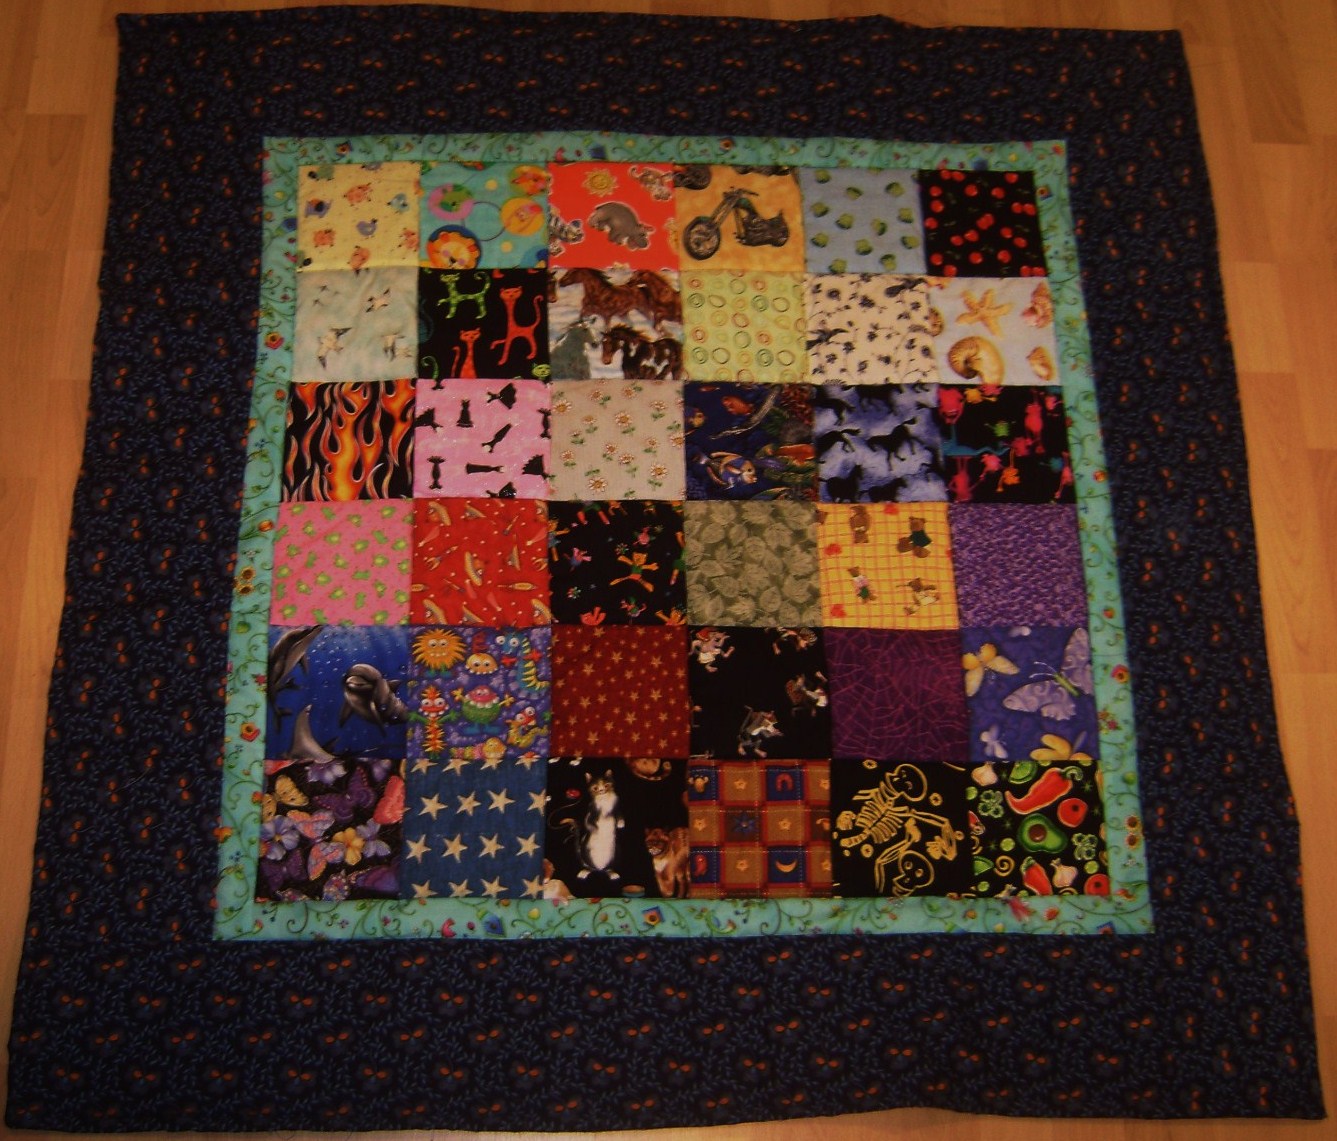
With all that in mind, and more, I made this-Violet the Spy:

  
And a close up:
This is an "I spy" quilt, which means that each square is a different fabric, and this one has no repeats. In this way the quilt can also be used to teach the kid, by having her/him identify different elements, colors, etc. So the quilt is colorful and useful for fun, AND educational. A fun bit about this particular one is that it was made with fabric from a fabric swap as well as from my stash, and when I got the swap fabric I was planning a different quilt, but the fabric worked so well here, I was glad to use it. One of the ladies I swapped with is also a friend of Violet's mom, which is also fun.

The backing fabric, I thought, should be more calm than the front, for quieter times. I also wanted it to be purple. Here's the fabric I chose:
As it turns out, this was quite fitting, I thought, as Violet's party included butterflies in its theme.
I haven't talked to Violet about it since I gave it to her, but I know her mom likes it, and that makes me happy.

Saturday, April 9, 2011

Donation Quilts

For the past couple of years, I've been working with an organization called Quilts for Kids which deals with, can you guess? Quilts for children. This is a, now, international organization that distributes quilts for kids, mostly in hospitals.
This organization makes it really easy to contribute: They send you pre-cut fabric, and a pattern sheet. You sew the pieces, provide batting and make a quilt from the fabrics they give you. Then you ship it back. The work you do, plus paying for shipping, is your contribution. Also, if you want to include another quilt, from your own fabric, that meets the size specifications, they'll be glad to accept it.

I've done 5 or so quilts for them so far, and have included 3 "stash" quilts.

Here is the latest quilt I've made for them:

and a close up:
I love being able to do good, and help out, especially when I get to do it while doing something I love. Another part of the fun is getting to work with colors I would not necessarily choose myself. Some of their fabrics are REALLY bright! I really like the blue fabric in this one though...

I have a link to the organization's website on the bottom of the page you're reading. Check it out if you're interested.
Time for me to request another kit!

Wednesday, March 30, 2011

Warm Wishes


One of my big, self-imposed, challenges this year is that I am trying to use up the fabric I have in my stash. I am trying not to buy new material (well, except for my daughter’s Bat Mitzvah quilt), and I’m pretty successful so far. I’m enjoying going to my shelves of fabric and seeing what I have, and how it might go with other fabrics I already have.

An added challenge is trying to do patterns that are not “scrappy”. That is, I would like to use my fabrics in ways that do not involve bits and pieces of a lot of different fabrics, but ones that use up 3-5 fabrics in a more consistent way.
 
Enter Warm Wishes.

This is a pattern that is new to me, but is so versatile I thought I’d try it. It alternates squares of a single fabric and squares that are made up of strips of 3 different fabrics. I looked on my shelves, and finally found a fabric I wanted for the squares. I’d gotten this fabric a long time ago and have been waiting for the right project. It is a warm red color with gold patterns overlaid on the red.
The next step was trying to decide what might go with it. The process was complicated by the fact that I had to find fabrics of which I had enough material (without going “scrappy”). I ended up with a color combination I NEVER would have thought to buy, but which I think works pretty well.
This one:

And the entire piece:

One I'd finished the pieced top, the quilt made its recipient known to me. A friend had just moved to her own place and this would be a house-warming gift for her. So I added the border to make it big enough for a couch quilt, keeping the warm tones going.

The back, I thought, needed something else. So I went back to my shelves and picked out some more fabrics. The back is pieced, though with only a few pieces, and has a very different feel from the front:

Two close ups of the backing fabrics:

 
The outside border on this side is cherries, which brings us back to warm tones and ties the front and back together to add cohesion to the piece.
I gave it to my friend last week and she pointed out that this gift is literally a “warming” gift. I like that.
She likes the quilt.
Yay!